PVC Picket Fence Installation Guide: Spike, Bolt-Down and Everything Between
Three questions decide how a PVC picket fence goes in: what is under the fence line, how long is the run, and how much does the ground fall? Answer those and the rest is a short list of jobs. The panel sets we sell are freestanding. There are no post holes to dig and no bags of concrete to mix, so the work is mostly layout, a drill and a level.
The three questions
| Question | Why it matters |
|---|---|
| What is under the line? Lawn, soil, concrete, pavers, clay. | It decides the base. Soil takes a ground spike. A slab takes a base plate with anchors. Soft clay may need concrete. |
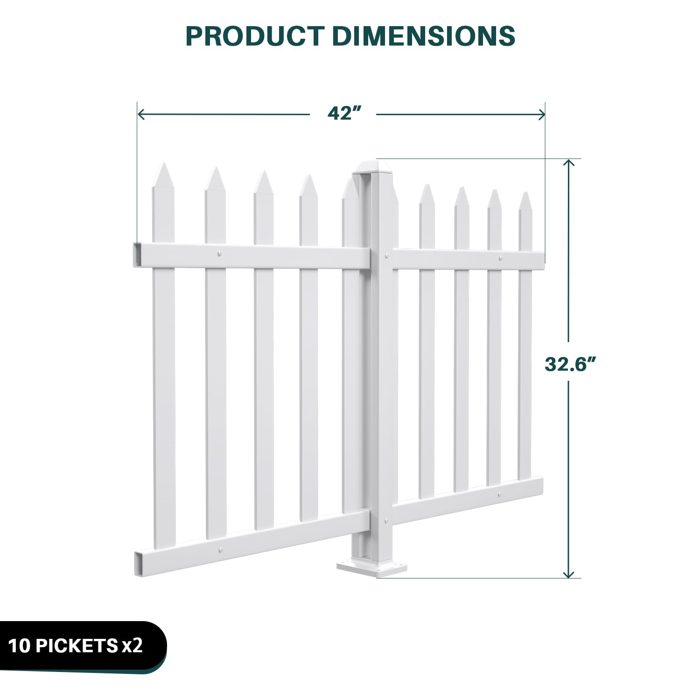
| How long is the run? | Panels are 42 in or 46 in wide and come two to a set, so the length decides how many sets and how many columns you need. |
| How much does the ground fall? | The base height adjusts by about 0 to 4 in. A gentle slope is fine. A steep one is not. |
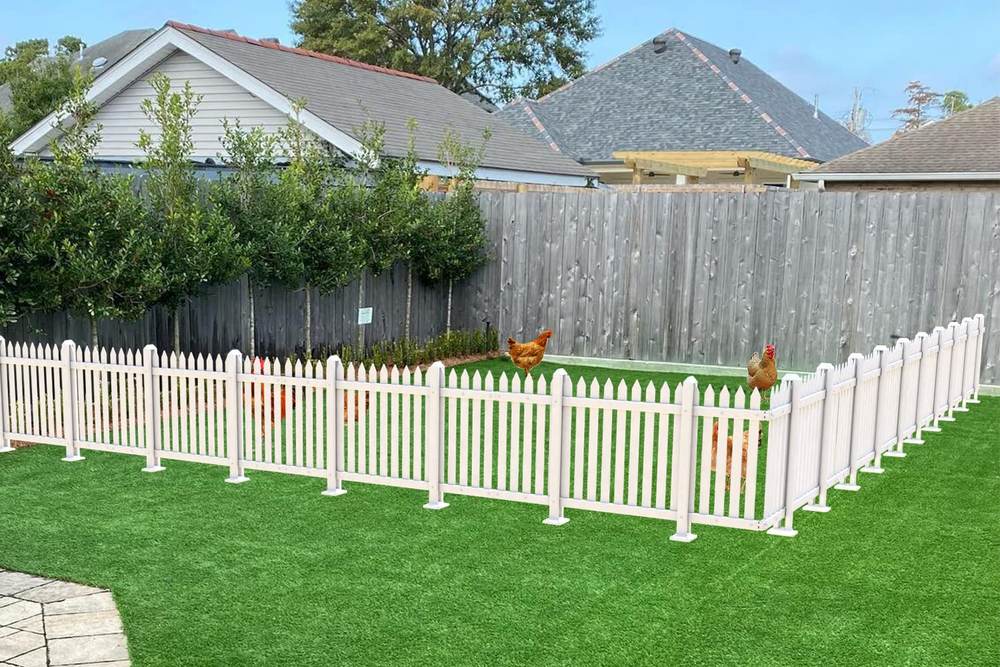
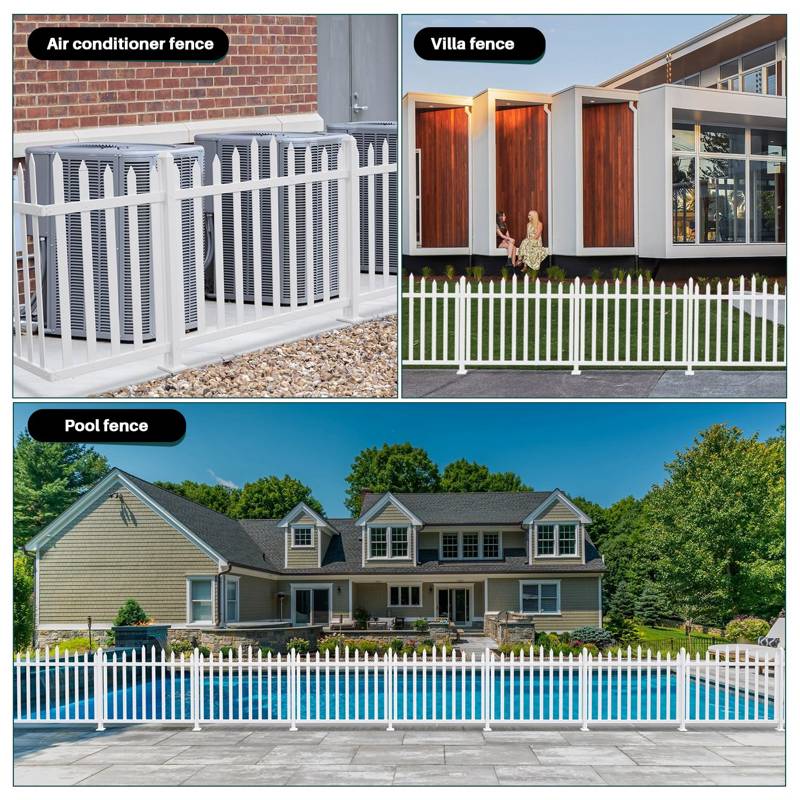
This guide is for decorative garden and yard fence. Our listings describe it for gardens, patios, yards and pools, and as a way to keep small pets in. It is a light boundary rather than a barrier. If you are fencing a pool, check your local rules first, because a decorative picket fence does not automatically meet a pool-barrier code.
What is in the box
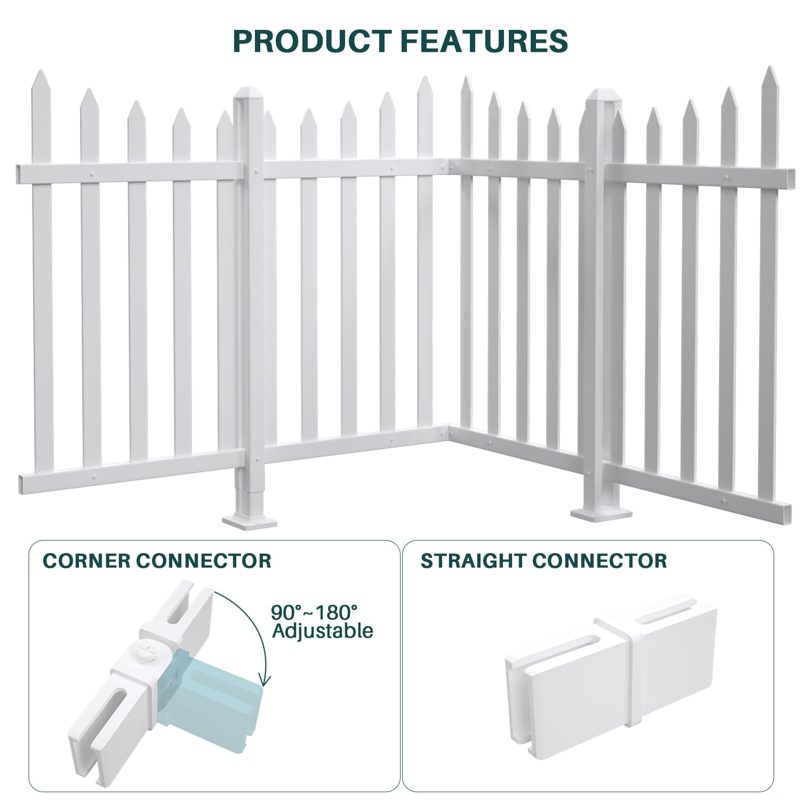
Five things make up the fence. Learn them now, and the instructions will make sense.
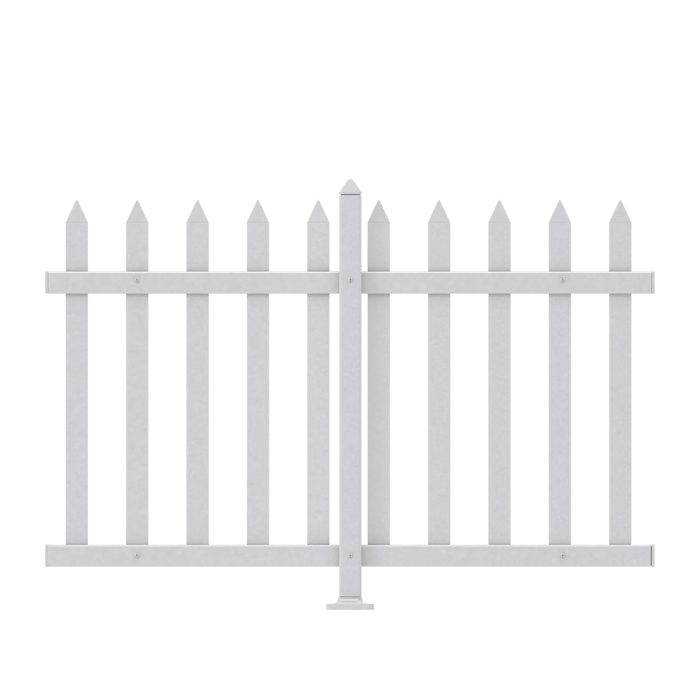
1. Panel
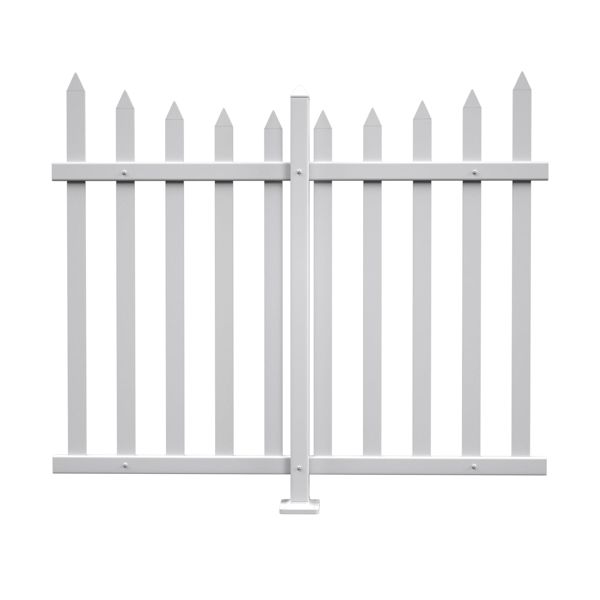
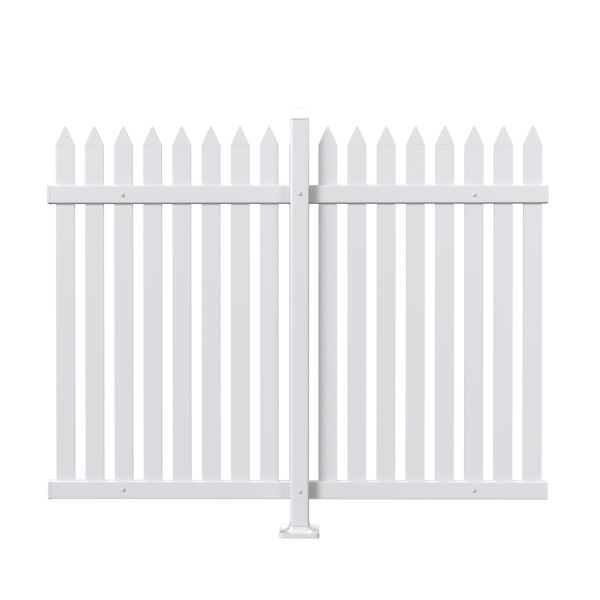
Pickets between two rails. A set is two panels, in the 84 in and 92 in set sizes. Sold in the PVC Fence category.
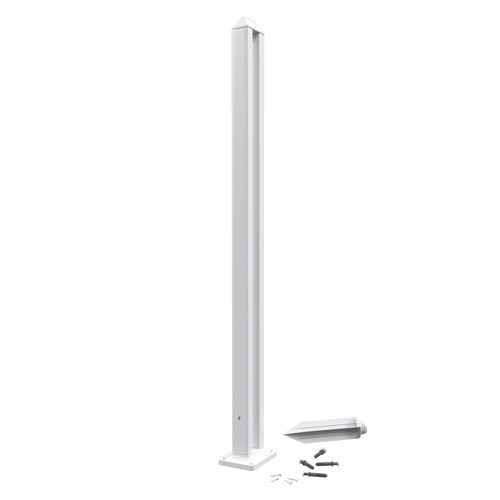
2. Column (post)
The upright that holds the panels. Position and height are adjustable. Extra posts are sold separately as options on the TANG PVC Fence page.
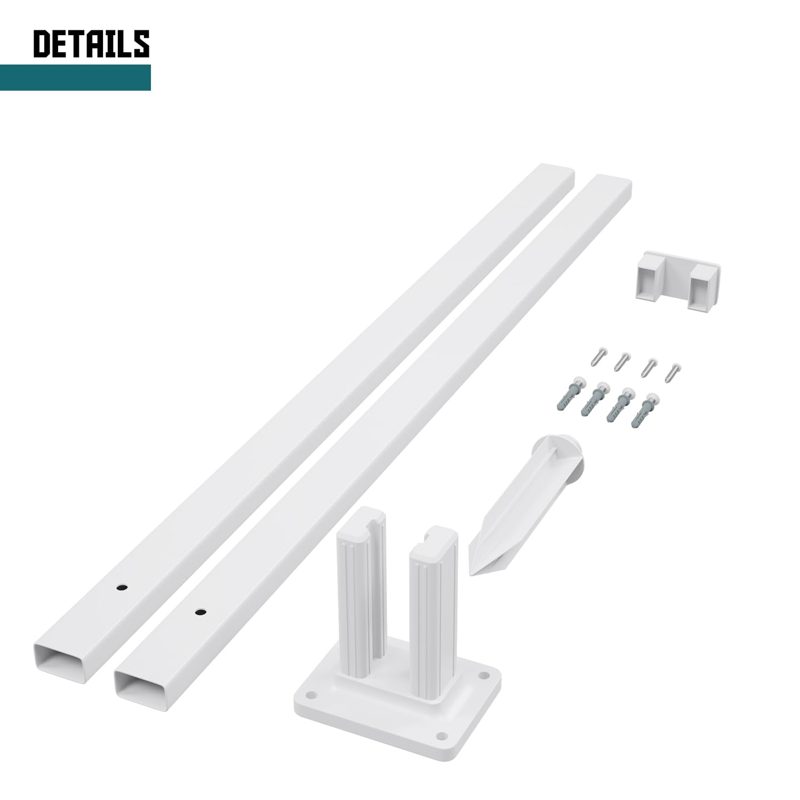
3. Base, spike and screws
A base plate for hard surfaces, a ground spike for soil, and the screws for assembly. Check which ones your listing includes.
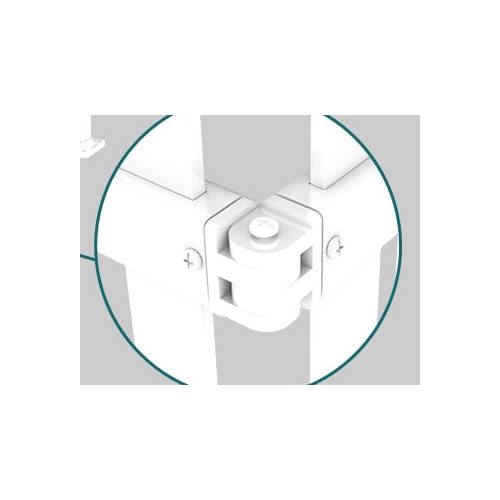
4. Corner connector
Turns the line. Shown in the listing pictures. Use it for a bend, not for a straight run.
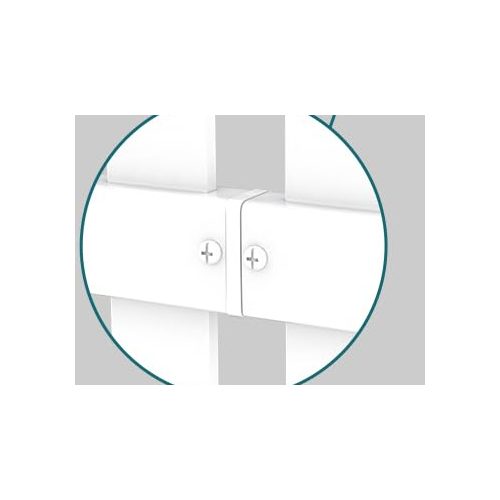
5. Straight connector
Joins two panels in line. Shown in the listing pictures, held with two screws.
A post cap finishes each column. If you are not sure whether a part is in your box, the listing and the manual are the reference, and we can answer questions about an order. We do not list connectors or caps as separate items.
Read the ground
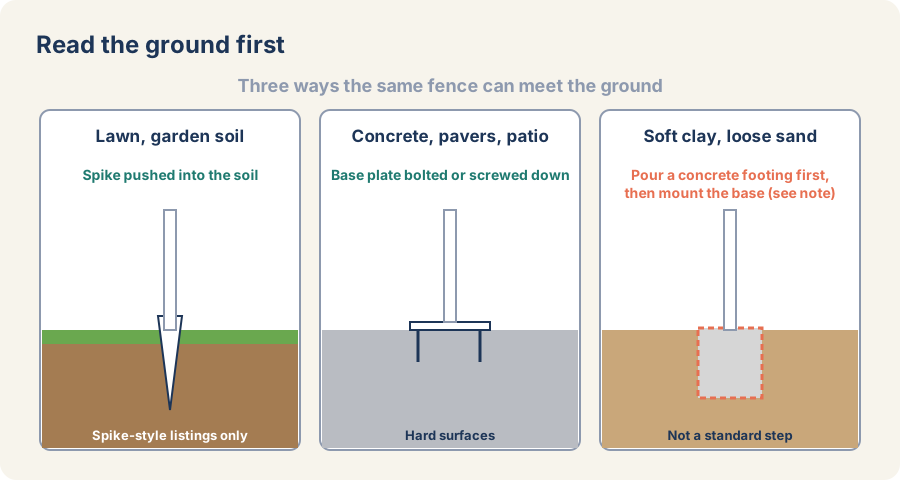
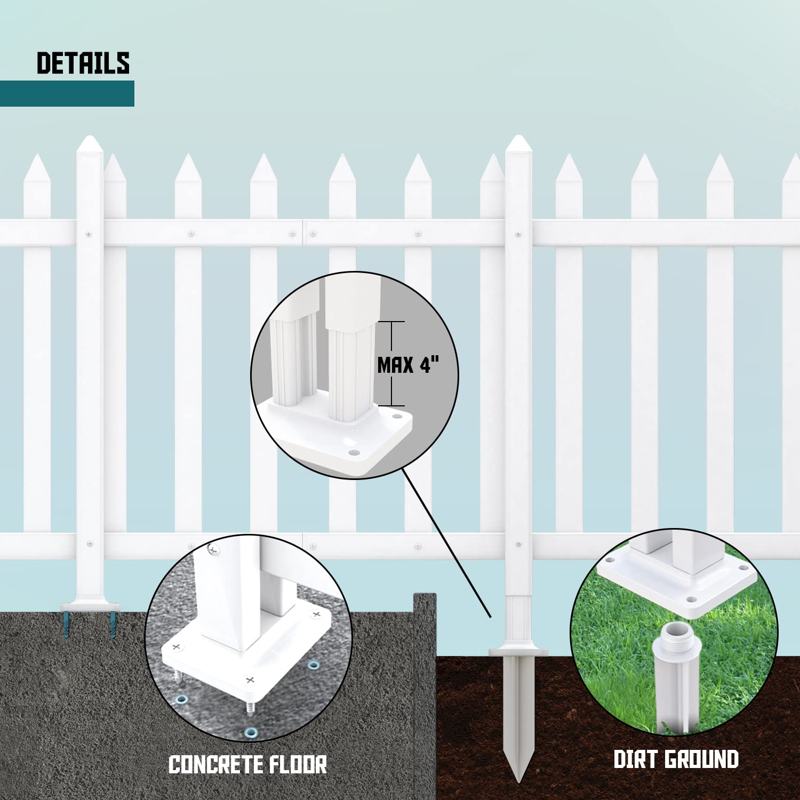
Lawn and garden soil. Push the ground spike in and let the column sit on it. One of our TANG listings notes that it needs no cement and will not damage the yard. That is the main reason people choose this type of fence.
Concrete, pavers and patios. Use a base plate. It is fastened to the surface with the supplied anchors, which the pictures show as screws into the slab. Mark the holes through the plate and drill to suit the anchors.
Soft clay or loose sand. A spike needs something to grip. If the soil will not hold one firmly, you are the exception, and a concrete footing under the base is the sensible fix. Test one spike before you commit to the whole run.
Turn the run into a parts count
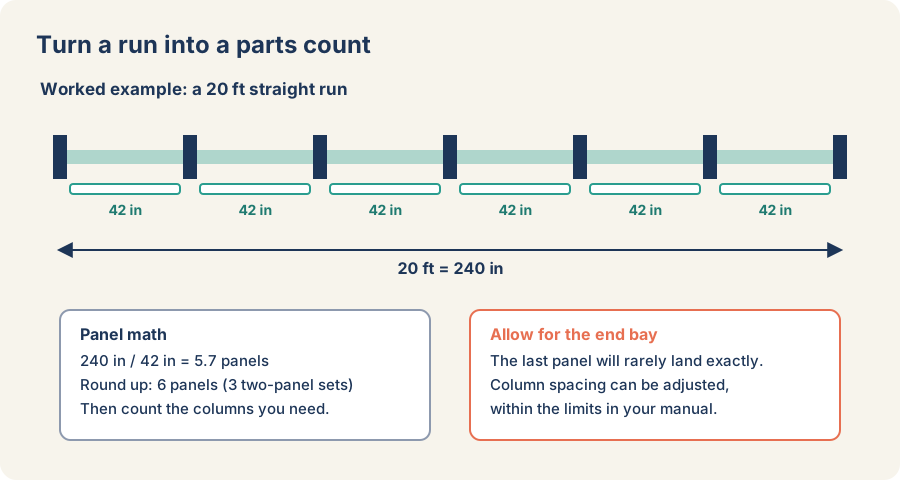
Stretch a string along the finished line and measure it. Divide by the panel width (42 in on the 84 in sets, 46 in on the 92 in sets), and round up to a whole panel. Sets contain two panels, so a 6-panel run is three sets. Then count the columns the manual calls for. Add extra posts now if you need them, because this is the stage where you can still order them with everything else.
The column position is adjustable along the panel, so a small difference can be absorbed. For a larger one, shorten the run, add a corner, or plan a short section. Do not stretch a panel to fit.
Install in six moves
The step picture on some of our listings runs like this: assemble the panels, fix the horizontal rail, assemble the posts, join posts and panels, fix them in place, and, on hard ground, anchor the base. Here is the same order with the extra detail that picture does not have.
- Assemble each panel. Put the rails and pickets together as the manual shows. A cordless driver on a low setting is better than a hand screwdriver, but stop as soon as the screw is snug.
- Fix the horizontal rails. Check that the rails are straight and the pickets are plumb. Fix this now, because it is much harder once the panel is in the ground.
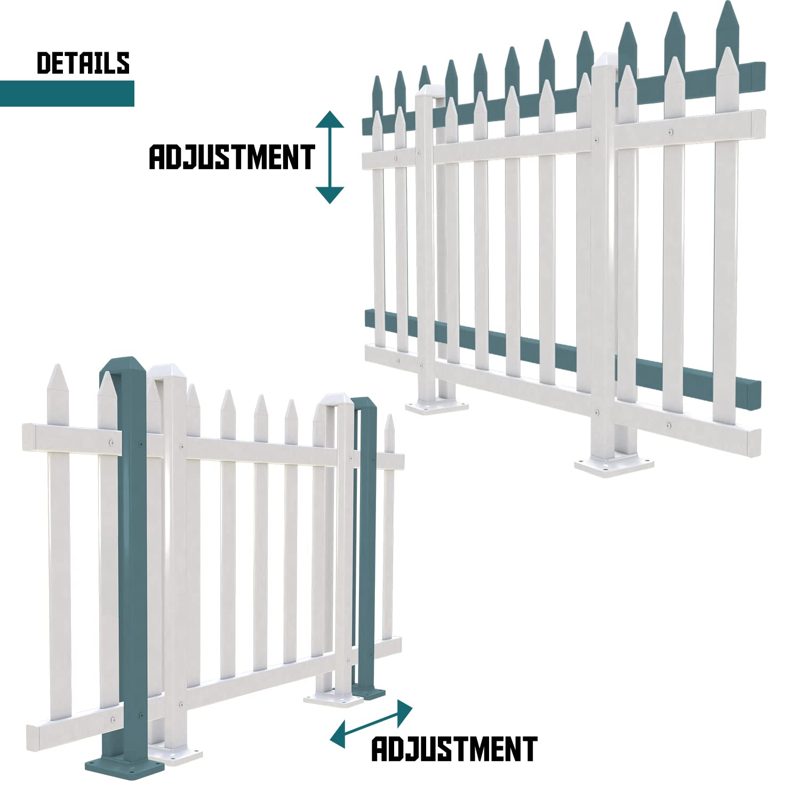
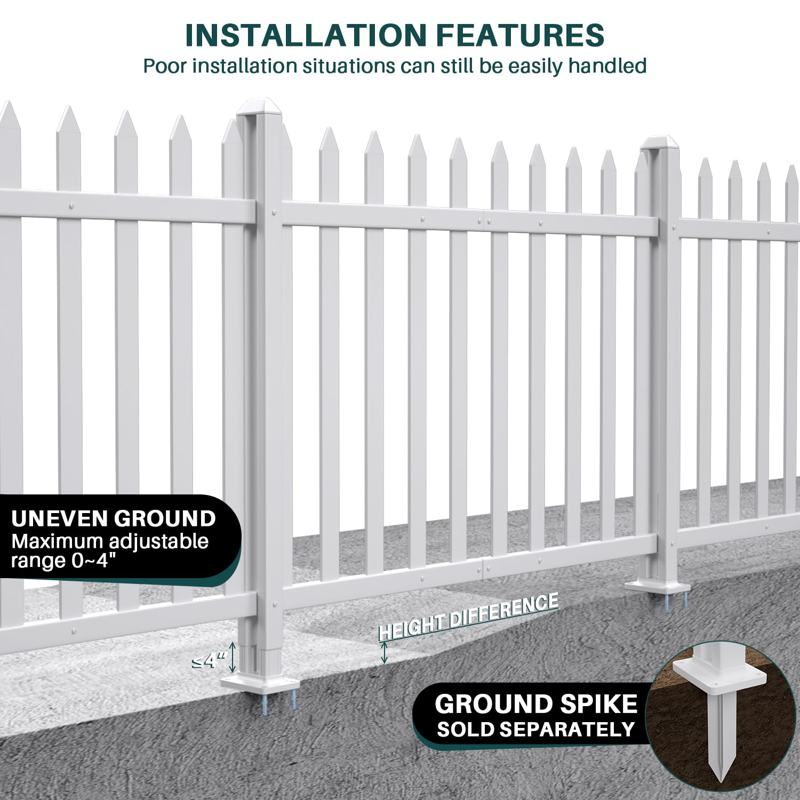
- Prepare the posts. Attach the base to each column as the manual shows. The listings say the base height is adjustable, by about 0 to 4 in, so check how the manual sets it before you tighten anything.
- Join panels and posts. Bring a panel to its column and fix them together with the screws supplied. The column can slide along the panel, so line it up with your string.
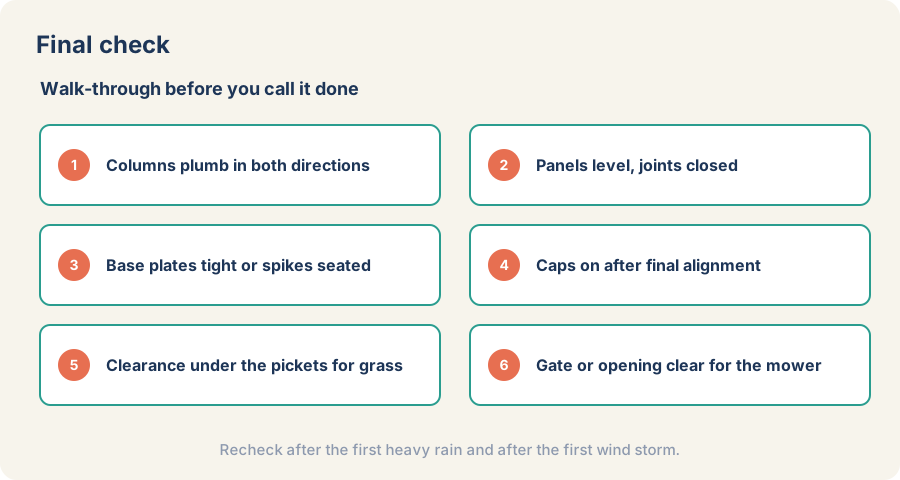
- Fix it to the ground. Push each spike into soil, or fasten each base plate to the slab with its anchors. Work one bay at a time, and look along the line after each.
- Set the height and cap. Adjust the base on each column so the rails run level, leave a little clearance above the grass, and fit the caps last.
Corners and shapes
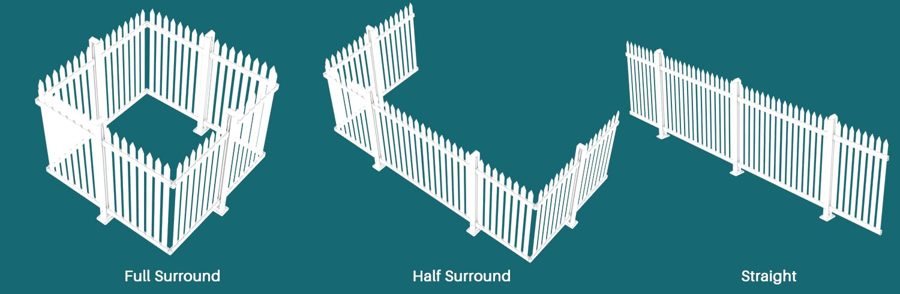
The corner connector turns the line anywhere from 90 to 180 degrees. A full surround, such as around a raised bed or an air conditioner, is four runs and four corners. Mark each corner on the string before you open the boxes, and check a right angle with a framing square. An out-of-square corner throws the whole run off.
Slopes
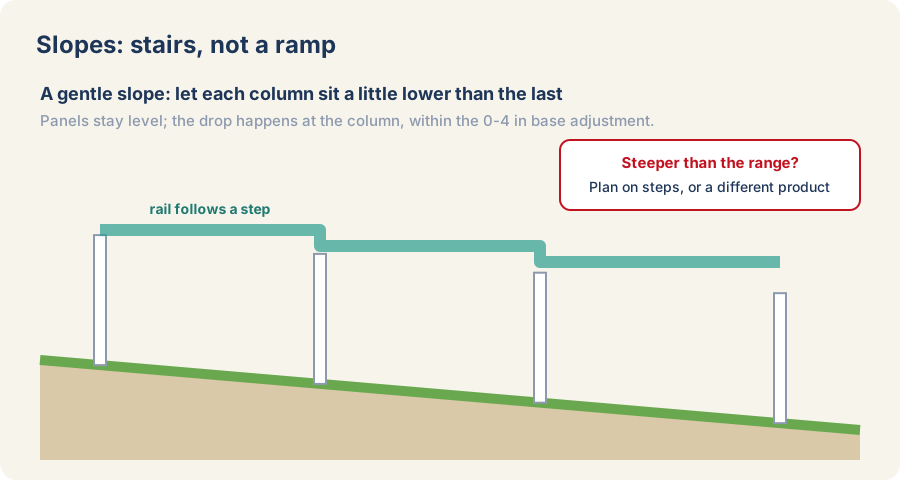
The rails stay level, and the drop happens at each column. The listings give the adjustment as about 0 to 4 in. Walk the line, estimate the total fall, and see whether it can be shared across the columns. If the fall is more than the range allows, you can step the fence with level sections, or choose a different fence.
If something looks wrong
| What you see | Likely cause | What to try |
|---|---|---|
| Rails sit at different heights across a column | Base heights not matched | Reset the base height on that column and recheck with a level. |
| Column leans | Spike not seated straight, or soil too soft | Pull the spike, reseat it straight; if it still will not hold, consider a concrete footing. |
| A panel will not seat on its connector | Columns too far apart or too close | Slide the column along the panel and recheck against the string. Do not force it. |
| Corner does not close | Corner angle not set before tightening | Loosen the connector, set the angle, retighten. |
| A screw spins in the vinyl | Overtightened | Stop at snug. Move to a fresh hole in the next position if the manual allows. |
| Fence moves in the wind | Too few columns, or loose bases | Check bases and add a column. We do not publish a wind rating for these panels. |
Frequently asked questions
Do I need to set posts in concrete?
Not on soil that holds a ground spike, and not on a hard surface where the base plate is fastened down. A concrete footing is for soil too soft for a spike.
Will it keep a dog in?
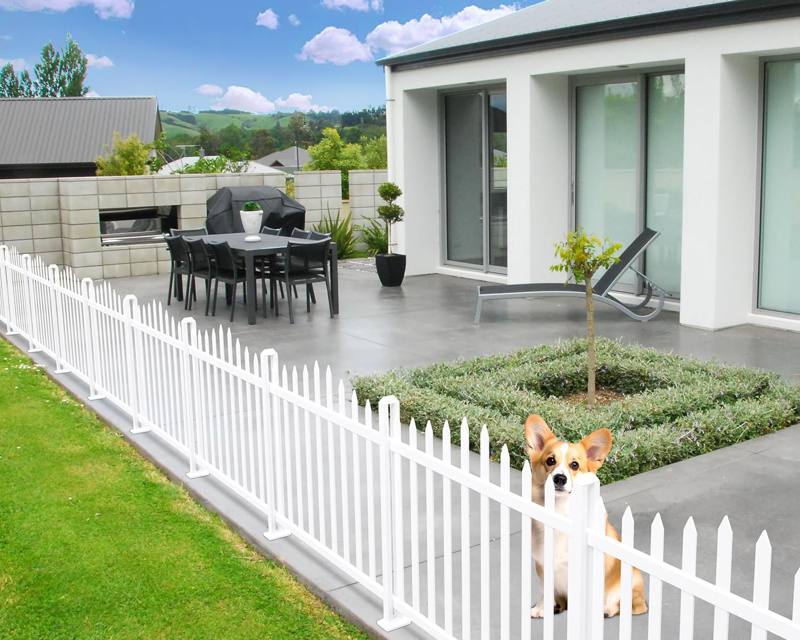
Our listings describe it for keeping small pets in. It is a light, low fence, so it is not for a dog that jumps or pushes, and the height is on the listing.
How high is the fence, really?
Check the listing. For some sets the top cap adds about 2.6 in to the stated height.
Which post do I buy for my panels?
Match both the height and the top style: straight or scalloped. The TANG post listings name the panel height they suit, and give the actual post height.
Can I use it around an air conditioner?
Our listings show it used that way. Leave space for air flow and service access.
Is there a gate?
Not in this category.