
Shade Sails in High Winds: What Actually Helps
Wind is the real test of a shade sail. On a calm day almost any sail looks good. The question is what happens when a gust comes across the yard and the fabric, the stitching, the hardware and the posts all take the load together. A sail that is built and hung well will ride out ordinary breezes. No fabric canopy, though, is storm protection, and the honest advice for a windy site is to plan the installation as carefully as the purchase.
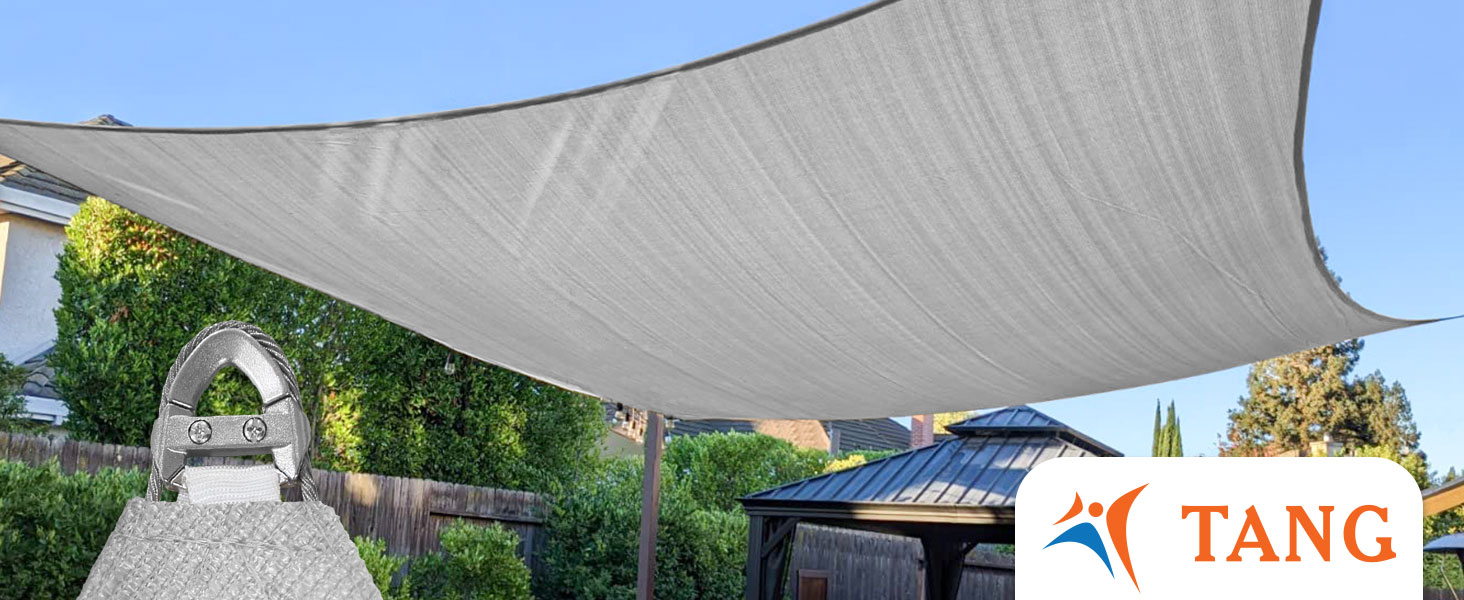
This guide is about choosing and planning a sail for a windy site. For the step-by-step installation, see How to Install a Shade Sail.
1. Choose the fabric
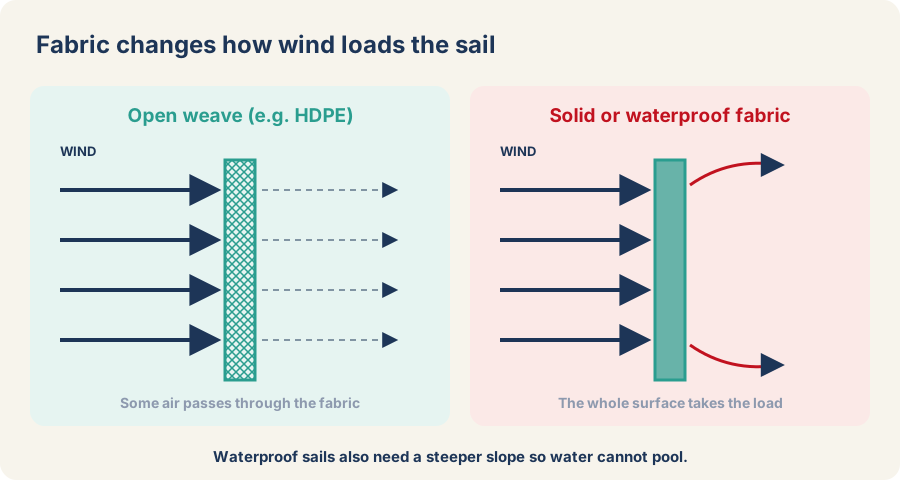
Fabric decides how much wind the sail catches. A knitted high-density polyethylene (HDPE) fabric is open enough to let air pass through, so it loads the posts less than a solid sheet of the same size. It still blocks up to 95% of UV rays and keeps the area underneath noticeably cooler. For most homes this is the right place to start.
A waterproof sail works differently. Ours is a coated polyester, so rain runs off instead of through. That is useful over a deck you want to keep dry, but it also means the fabric acts more like a wall in a gust. It needs a steep pitch so water cannot pool, and it is meant for light rain, not storms or snow. If your yard gets regular strong gusts, use a waterproof sail cautiously and make sure the structure holding it up is built for the extra force.
The sails we make
| Option | Photo | What it is | Think of it for |
|---|---|---|---|
| Permeable, 160 to 240 GSM | 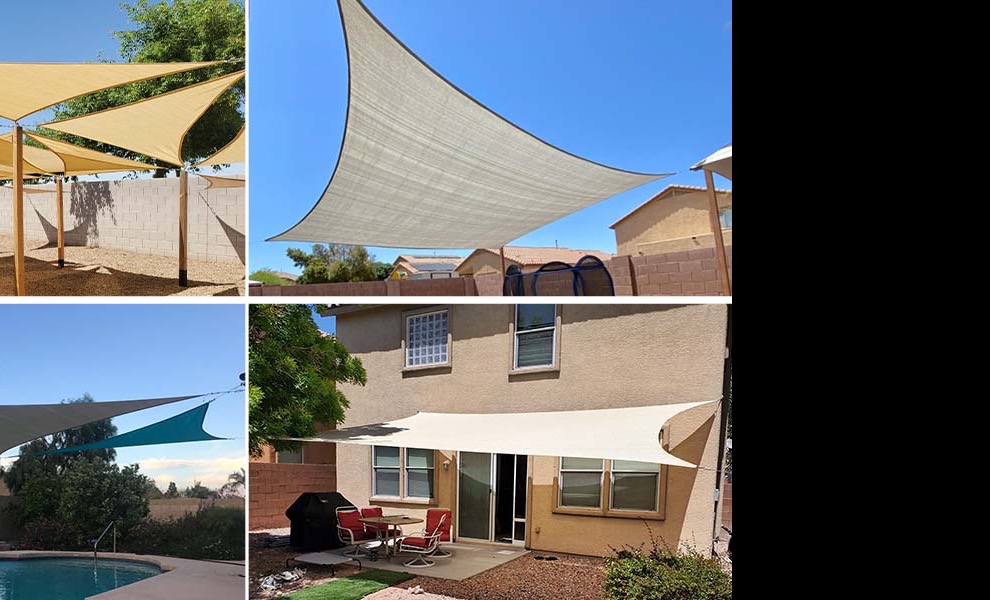 | Knitted HDPE with reinforced seams and D-ring corners, in a choice of weights: 160, 180 and 240 GSM. | Most homes. Breathable, lets air and light rain through. |
| Cable shade sail, 260 GSM | 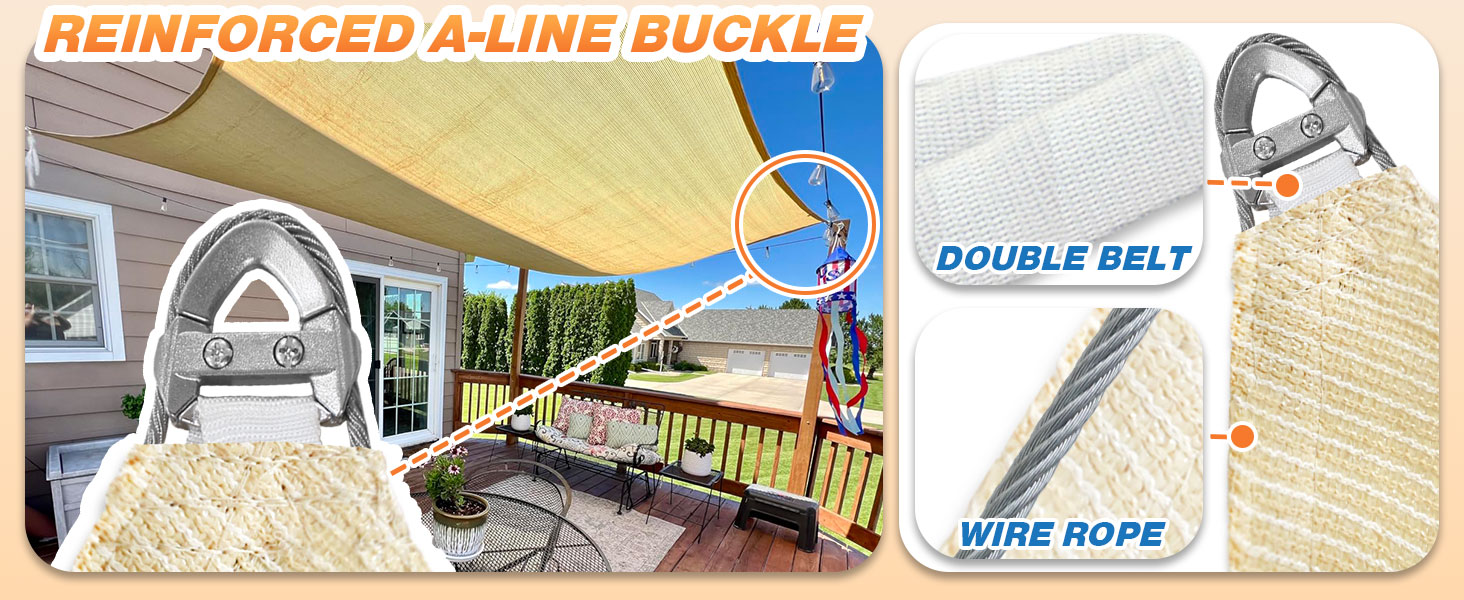 | A heavy-duty permeable fabric with steel cable built into the edges and joined to the mounting rings, so the pull runs through the cable instead of the fabric. Each ring needs its own cable or hardware connection. | Larger spans, where you want the corners reinforced beyond ordinary stitching. |
| Waterproof, 260 GSM | 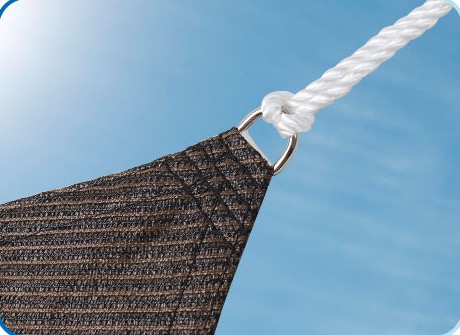 | Coated polyester with double-stitched seams and waterproof strips over the seams. | A dry deck. Catches more wind, so it needs a steep pitch and a strong structure. |
GSM means grams per square meter, so a higher number is a heavier fabric. It tells you about the fabric, not about how much wind a finished installation can take. That depends just as much on the anchors, the hardware, the size and the exposure.
2. Choose the size and shape
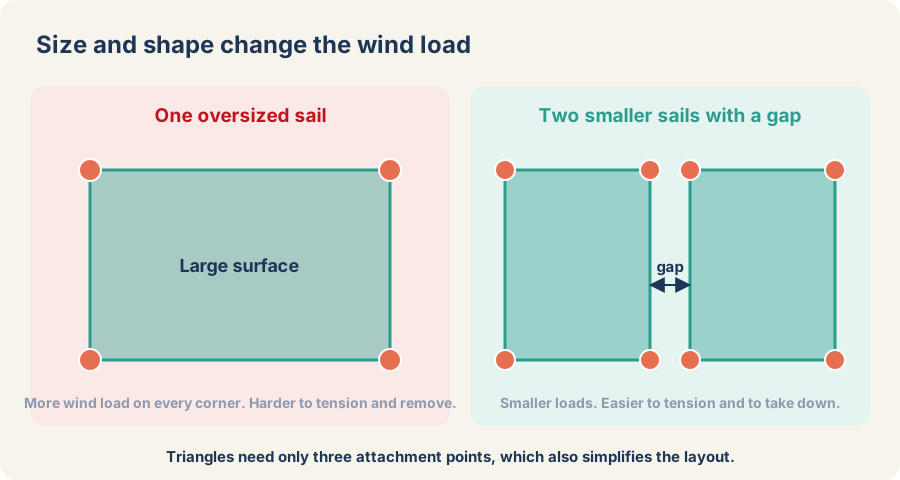
Wind pushes on area, so a bigger sail takes a bigger push. One very large rectangle across a wide patio is harder to tension and harder to lower than two smaller sails with a gap between them. The gap lets air through, and each sail loads its own anchors.
Triangles are often easier on a windy site: three anchors make a simple layout and a clean tensioned shape. Four-corner sails cover more but every corner has to be placed and tensioned accurately, because a loose edge flaps, wears the fabric and strains the hardware.
Avoid a flat installation. A sail with a twist, where at least one corner sits higher or lower than the rest, holds its tension better and gives wind less flat surface to push on. The install guide shows how to set the high and low corners. Our sails are cut to order, so you can ask for the size that fits your anchors instead of buying the closest standard one. Browse all shade sails.
3. Read your site before you order
Measure between the real attachment points, then order a sail smaller by about 1.5 to 2 feet at each corner. That gap is where the turnbuckle and hooks go, and a sail that exactly fills the span has no room for them. The measuring step has a worked example.
Look at what is around the spot. Trees, rooflines and neighboring buildings redirect wind and can make gusts in a yard that feels sheltered. A hilltop patio, a second-story deck or an open pool area needs more conservative planning than a walled courtyard.
Do not trust an existing fence. Fence posts are made for panels, not for the constant diagonal pull of a sail. A thin fascia board, gutter or loose railing is no better. Fix to solid framing, masonry or a properly set post, and if you are unsure what is behind a wall, ask a qualified installer.
For a freestanding post, deeper is usually better, but the right depth and footing depend on the post, sail size, soil and local rules. See the post-setting step, and our 3-inch D-ring clamp for round poles.
4. Match the hardware to the sail
Every connection is only as strong as its weakest part, so match the hardware to the load. Our kits use 304 stainless steel, which is a common choice for exposed installs because it handles weather and moisture well. Use proper pad eyes, snap hooks and turnbuckles, not improvised rope ties.
Turnbuckles matter in wind because a sail has to be tensioned after it goes up and re-tensioned as the fabric settles. Aim for firm, with no sagging center and no loose edges, but do not over-tighten in the hope of getting a drum-tight sail. Extra tension adds load to the corners, anchors and posts, especially when a gust arrives.
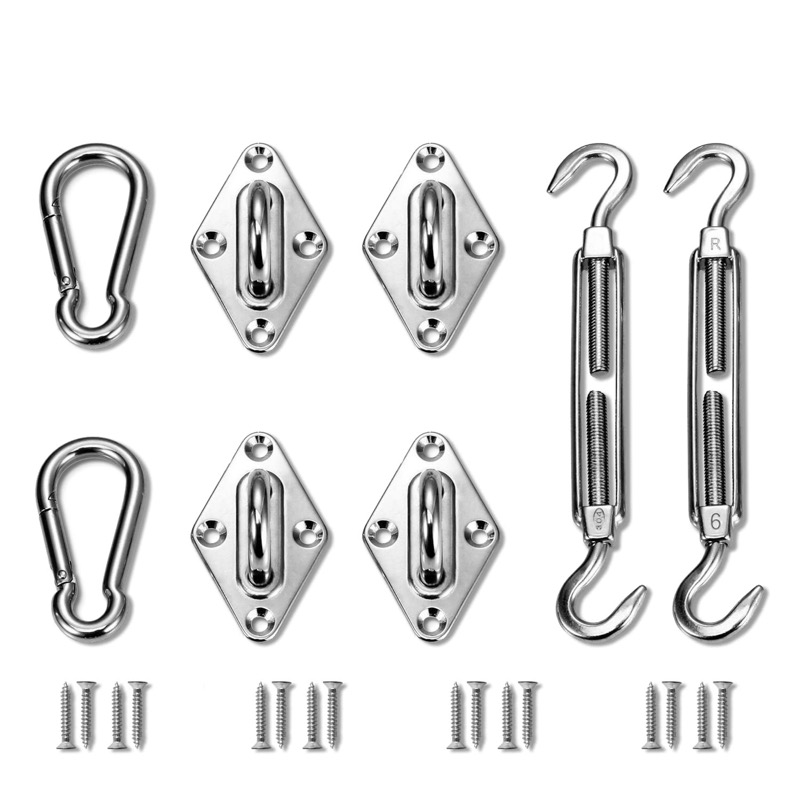
Stainless steel hardware kits
Pad eyes, turnbuckles, snap hooks and screws. For rectangle or triangle sails, in 6 in. or 8 in.
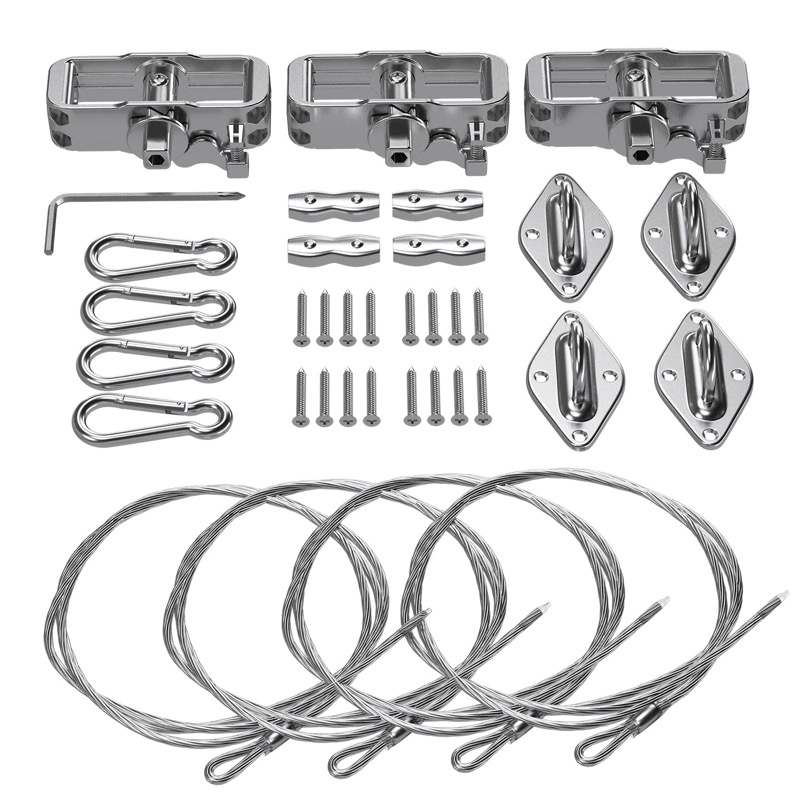
Winch kits
A winch and wire rope at each tensioned corner, with a wrench. For rectangle and triangle sails.
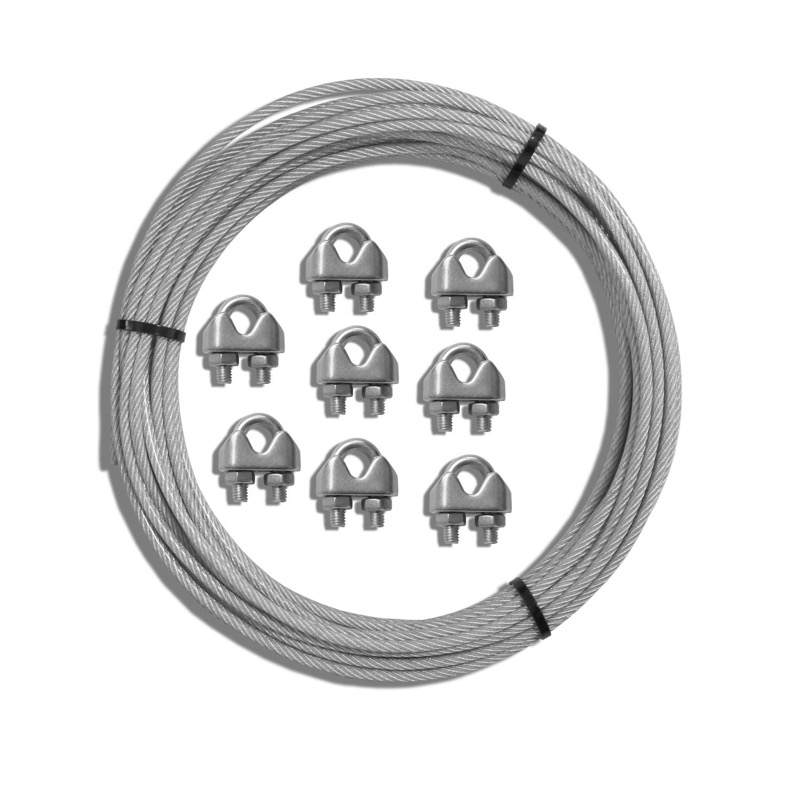
Stainless steel wire rope
For an anchor that is farther away than the sail corner can reach. See steel rope.
Not sure what each piece is? The install guide has a numbered parts guide that matches every drawing to a photo of the real hardware, and the hardware guide explains how to choose.
After the first few windy days, and then now and then through the season, look at every attachment point. Check for stretched stitching, frayed fabric, bent hardware, loose screws, a post that has moved, and any place the sail rubs a wall or beam. A small problem is much cheaper to fix before a strong gust turns it into damage.
5. Know when to take it down
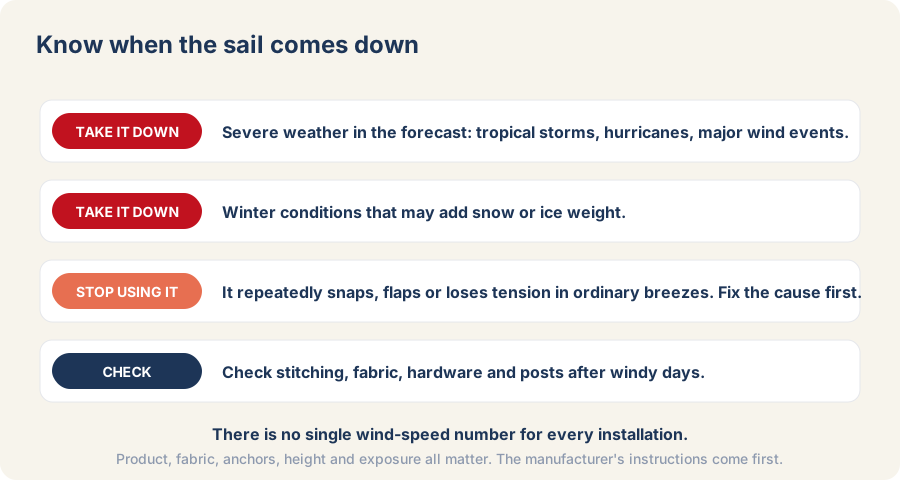
No single wind speed applies to every installation. Size, design, fabric, anchor layout, mounting height, exposure and structural strength all change the answer, and the manufacturer's instructions come first.
As a practical rule, take the sail down when severe weather is forecast, not when it has already started. That means tropical storms, hurricanes, other major wind events, and winter weather that can add the weight of snow or ice. If a sail keeps snapping, flapping or losing tension in ordinary breezes, stop using it until you have found the cause.
Plan for removal when you design the layout. Snap hooks make it far easier to unhook a sail than a fixed connection, and a layout that lets you lower the sail without taking posts or anchors apart means you will actually do it when a warning comes. Store it clean and dry.
Renters should also check what they may attach to. Balcony railings, shared walls and building exteriors often have lease limits. A smaller freestanding setup may be safer than fixing into a structure without permission.
Frequently asked questions
Can a shade sail survive hurricane-force wind?
No fabric canopy should be treated as permanent storm protection. Take the sail down ahead of tropical storms, hurricanes and other major wind events.
Is a permeable or a waterproof sail better in wind?
A permeable sail lets part of the wind through, so it generally loads the structure less than a waterproof sail of the same size. Waterproof sails are for keeping rain off and need a steep pitch and a structure built for the extra force.
One big sail or two smaller ones?
On an open, windy site, two smaller sails with a gap are usually easier to tension and to take down than one oversized sail, and each puts less load on its anchors.
Does a higher GSM mean it can take more wind?
GSM is the weight of the fabric. It is not a wind rating for the finished installation, which also depends on the anchors, hardware, size, height and exposure.
What does a cable shade sail do differently?
It has steel cable sewn into each edge and joined to the mounting rings, so the pull runs through the cable instead of the fabric. It still needs solid anchors and proper hardware at every ring.
Can I use a tarp instead?
A tarp is not a substitute for a shade sail. A shade sail has reinforced corners and a sewn edge designed for concentrated tension.
The best setup is usually the one that fits the site without forcing anything. Spend as much care on the posts and anchors as on the fabric, and when strong wind is in the forecast, take the sail down. That is not a failure of the installation; it is routine maintenance.